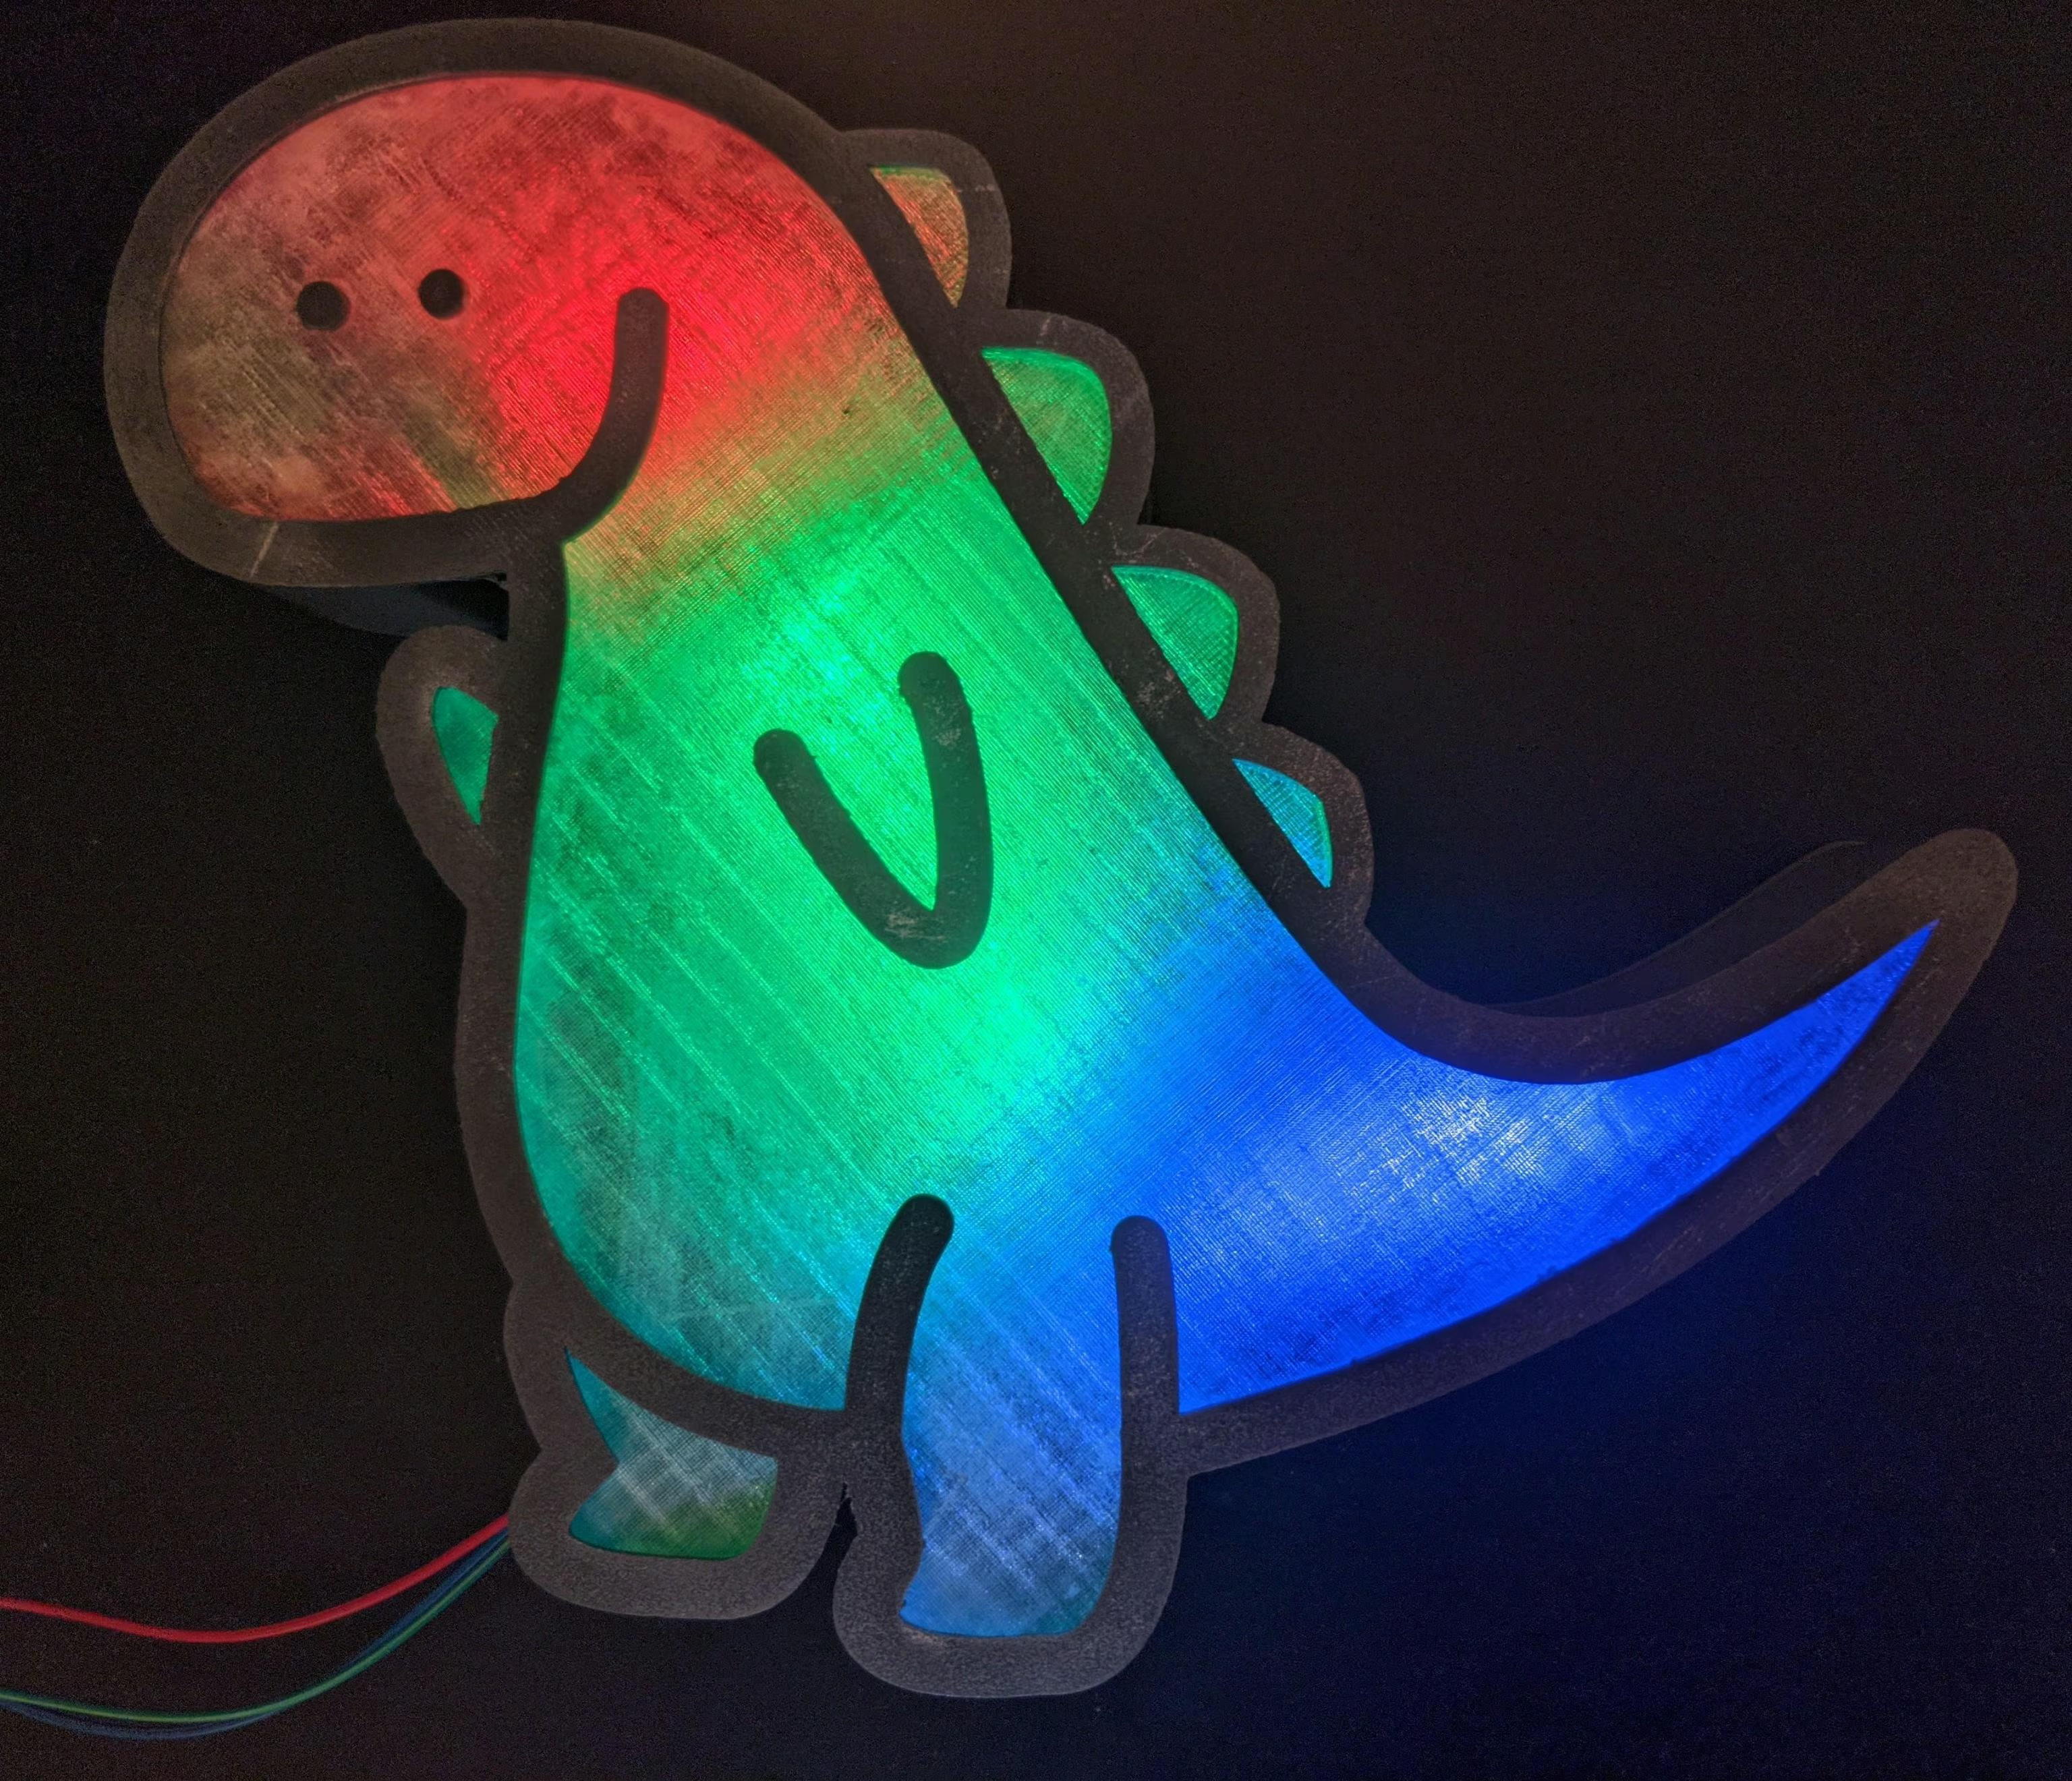
Making a Dino Light with the ESP32 and WS2812
Found a cute thing on Thingiverse and decided to make it with another chip and in Rust
I found this on thingiverse and decided to make it, but with Rust and an ESP32.
This is the final result:

Hardware Part
I’d recommend getting WS2812 strips with less than 144 Pixels/m since it’s really painful to solder with that density, especially when you have little experience with soldering like me. For the ESP32 I’d recommend the ESP32-C, since that chip has a RISC-V chip, which has better Rust support than the Xtensa based boards.
If your microcontroller has a 5V connector we’re going to connect that to the 5V input of the LED strip, otherwise you’ll need another way to supply the 5V. Also, just connect the GND Pin to the GND Pin of the LEDs. As a data Pin, take a look at the Pin-out diagram of your board. In my case the GPIO15 should do nicely, since it’s not used for internal flashing and works nicely with SPI.
Software Part
THIS ENTIRE SECTION IS NOT NECESSARY ANMORE. You can now use espup, which sets up everything needed.
Setting up the toolchain and compiler
This has been really painful for me to set up, and I hope you can avoid some frustration by following this post.
You can avoid nearly all of this setup by getting the ESP32-C as mentioned above.
Download rust-build using this command:
git clone https://github.com/esp-rs/rust-build
Install it via this command:
cd rust-build; ./install-rust-toolchain.sh
After the script is finished, follow the instructions at the end.
Now use rustup default esp(except if you have the C in which case you can use Rust nightly) and
install cargo install cargo-espflash, used for flashing, and cargo pio(which decodes the stack trace):
curl -fsSL https://raw.githubusercontent.com/platformio/platformio-core-installer/master/get-platformio.py -o get-platformio.py
python3 get-platformio.py
cargo install cargo-pio
Compile and flash via(on Windows you will have to look up the command yourself):
cargo espflash --release /dev/ttyUSB0
If flashing with cargo espflash doesn’t work you can try pressing the Boot Button during
the command, which always worked for me.
We can monitor the serial output via:
cargo pio espidf monitor /dev/ttyUSB0
Code
For the dependencies we have this in our Cargo.toml:
[dependencies]
# For the ESP32
esp32 = "0.11.0"
esp32-hal = "0.3.0"
xtensa-lx = { version = "0.4.0", features = ["lx6"] }
xtensa-lx-rt = { version = "0.7.0", optional = true, features = ["lx6"] }
# For the LEDs
ws2812-spi = "0.4.0"
smart-leds = "0.3.0"
At the start of our main.rs file we need these since we’re working with
a microcontroller and don’t have the std library for it(There is a project for the ESP32 with the std library).
#![no_std]
#![no_main]
Now the main function:
#[entry]
fn main() -> ! {
    loop{

    }
}
We need the #[entry] attribute to define the entry point of the program and the “!” signals that the function will not return and this is also why we need the never ending loop.
Then the actual setup:
#[entry]
fn main() -> ! {
    let dp = target::Peripherals::take().unwrap();
    let (_, dport_clock_control) = dp.DPORT.split();

    let clkcntrl = ClockControl::new(
        dp.RTCCNTL,
        dp.APB_CTRL,
        dport_clock_control,
        XTAL_FREQUENCY_AUTO,
    )
    .unwrap();
    let (clkcntrl_config, _) = clkcntrl.freeze().unwrap();
    let pins = dp.GPIO.split();
    let data_out = pins.gpio15.into_push_pull_output();
    // We need SPI for the WS2812 library
    let spi: SPI<_, _, _, _> = SPI::<esp32::SPI2, _, _, _, _>::new(
        dp.SPI2,
        spi::Pins {
            sclk: pins.gpio14,
            sdo: data_out,
            sdi: Some(pins.gpio25),
            cs: None,
        },
        spi::config::Config {
            baudrate: 3.MHz().into(),
            bit_order: spi::config::BitOrder::MSBFirst,
            data_mode: spi::config::MODE_0,
        },
        clkcntrl_config,
    )
    .unwrap();
    let ws = Ws2812::new(spi);
    loop{
    }
}
Now we create some structs to control the Strip easier:
const NUM_LEDS: usize = 23;

struct LightData {
    leds: [RGB8; NUM_LEDS],
}
struct Strip {
    ws: Ws2812<SPI<SPI2, Gpio14<Unknown>, Gpio15<Output<PushPull>>, Gpio25<Unknown>>>,
    data: LightData,
    brightness: u8,
}
And some functions to manipulate the data inside:
impl LightData {
    fn empty() -> Self {
        Self {
            leds: [RGB8::new(0, 0, 0); NUM_LEDS],
        }
    }
    fn write_to_strip(
        &self,
        strip: &mut Ws2812<SPI<SPI2, Gpio14<Unknown>, Gpio15<Output<PushPull>>, Gpio25<Unknown>>>,
    ) {
        strip.write(self.leds.iter().cloned()).unwrap();
    }

    fn get_led(&self, index: usize) -> RGB8 {
        self.leds[index]
    }
    fn set_color_all(&mut self, color: RGB8) {
        for i in 0..NUM_LEDS {
            self.set_color(i, color);
        }
    }
    fn set_red(&mut self, index: usize, red: u8) {
        self.leds[index].r = red;
    }
    fn set_green(&mut self, index: usize, green: u8) {
        self.leds[index].g = green;
    }
    fn set_blue(&mut self, index: usize, blue: u8) {
        self.leds[index].b = blue;
    }
    fn set_color(&mut self, led: usize, color: RGB8) {
        self.leds[led] = color;
    }
}
impl Default for LightData {
    fn default() -> Self {
        Self {
            leds: [RGB8::new(STEPS, STEPS, STEPS); NUM_LEDS],
        }
    }
}
impl Strip {
    fn write(&mut self) {
        self.data.write_to_strip(&mut self.ws);
    }
    fn set_color(&mut self, color: RGB8, index: usize) {
        self.data.set_color(index, color);
        self.write();
    }
    fn set_solid(&mut self, color: RGB8) {
        self.data.set_color_all(color);
        self.write();
    }
    fn get_brightness(&mut self) {
        self.data.get_brightness();
    }
}
Then we can put this in the main function:
    let mut strip = Strip {
        ws,
        data: LightData::from_gradient(RGB8::new(40, 0, 0), RGB::new(0, 0, 40)),
        brightness: 10,
    };
    loop {
        strip.set_solid(RGB8::new(25, 0, 0));
        delay(40_000_000);
        for i in 0..NUM_LEDS {
            strip.set_color(RGB8::new(0, 0, 25), i);
            delay(40_000_000);
        }
    }
This will set the LEDs to red initially and individually turn them blue
Lastly we need a #[panic_handler], this will suffice for this example:
#[panic_handler]
fn panic(info: &PanicInfo) -> ! {
    dprintln!("\n\n*** {:?}", info);
    loop {}
}
And now we can flash it via:
cargo espflash --release /dev/ttyUSB0
You can find the entire source code here
If you’ve read so far: Thanks, it means a lot to me!
You can find the next part here
Thanks to:
A friend of mine, who helped me get started with this project, especially the hardware part
The entire esp-rs GitHub organization for making ESP Chips Rust compatible
smart-leds and WS2812-spi, especially this example